

I was in Barnes and Noble the other day, reading through some craft books and came upon an idea for a Halloween banner that used weathered book pages. So cute! I did not write down the name of the book, and can't find this craft anywhere on the internettles! I adapted it a bit but if anyone can tell me where I saw this inspiring idea, please let me know. The hardest part of this project for me was bringing myself to destroy a book to do it. I went to a local second-hand book shop to buy a book so I wasn't attached to the book and could actually manage to cut it up!

You will need:
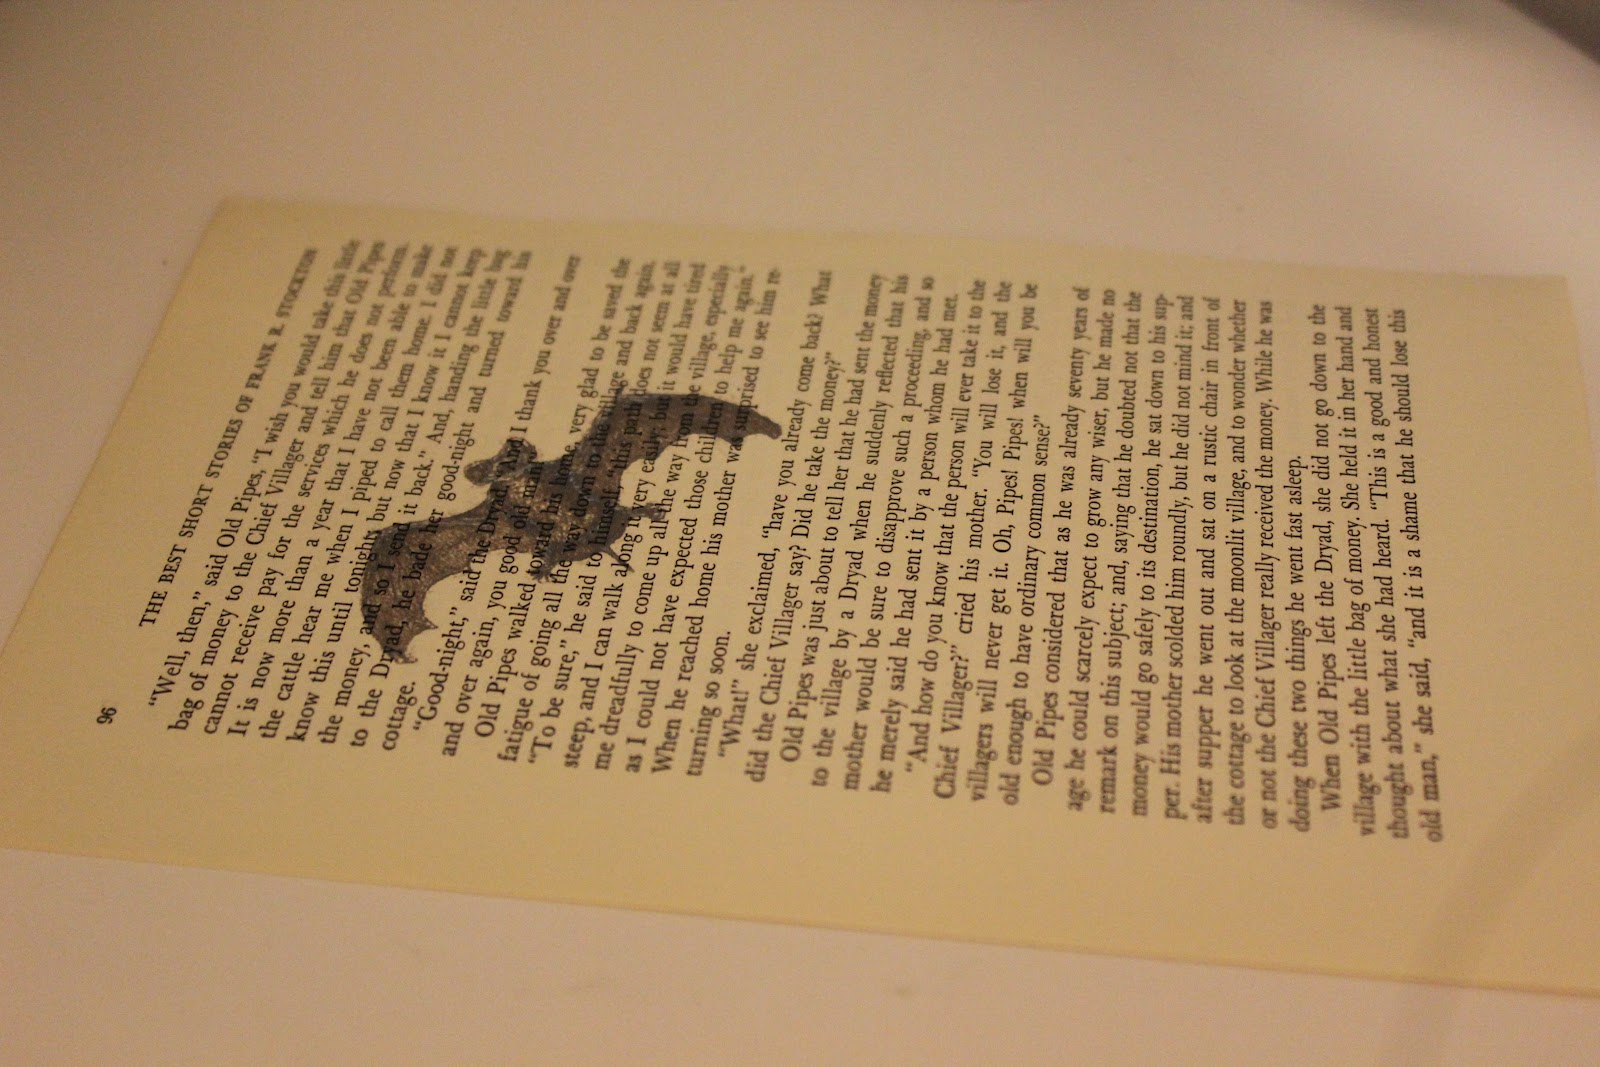
- One book (hard or soft back) with old, weathered, yellowed pages, that you are willing to utterly destroy. My book was pretty small (5 and 3/4 across by 8 and a half inches tall.) It's even better if you can find ghost stories, then the pages will have some creepy words printed on them!
- An exacto knife
- Black scrapbook paper (I used 2 12x12 sheets)
- A glue stick
- A ruler
- A pencil
- Scissors
- Elmer's white glue
- Fine orange colored glitter
- Scientific drawings of creepy things, turned to sepia or black and white. I found most of mine on scientific organizations' flickr pages! Then I turned them sepia in Photoshop. Yes, this took some time and patience!
- black ribbon or ric rac, about 5 feet of it.
1. Use the exacto knife to cut out seven or 8 pages from the book.

2. Put the papers through your printer to print the creepy pictures on them. You'll want them closer to the top of the page since the bottom will get cut off on the sides to form the triangle.

3. Use your ruler and pencil to mark a triangle shape on the page, then use your scissors to cut each page into a triangle.
4. Cut slightly larger black triangles out of the black scrapbook paper.
5. Glue stick the book pages onto the black pages.

6. Use round dots of white glue to make polka dots on the pages, around the printed part. Sprinkle glitter onto the dots. Let it dry thoroughly.


7. Once dry, hot glue the triangles to the black ribbon, or punch holes in the corners of the triangles and string them onto the ribbon.


No comments:
Post a Comment